
Page 293 - Enhancing CAD Drawings with Photoshop
P. 293
4386.book Page 277 Monday, November 15, 2004 3:27 PM
INTEGRATING AND PAINTING IN PHOTOSHOP 277
7. Click the Layers palette. Press Ctrl+~ to select the RGB channels. Notice that you didn’t have
to be on the Channels palette to change channels. Create a new layer and then add a layer
mask; click the Create A New Layer and Add Layer Mask buttons at the bottom of the Layers
palette. The selection disappears once the mask is created. Deselect the layer mask by clicking
the layer thumbnail; this step is necessary prior to painting or the paint goes on the mask.
NOTE You will be creating many layers as you mask individual surfaces to receive paint. It would be
too much to give each one of these layers a descriptive name. Therefore, organize at a higher level
with named layer sets instead.
The masked layer you made in the previous step is ready to receive paint. However, let’s hold
off on painting a while longer until we mask a few more layers and learn how to automate the
prep work.
Remember that the ObjectID channel shows distinct shades of gray for each object in the 3D
scene. You can select every pixel of a particular shade of gray using the Magic Wand with zero
tolerance in noncontiguous mode.
8. Press Ctrl+5 to select the ObjectID channel. Press W to select the Magic Wand. On the Options
bar, click New Selection mode, set Tolerance to 0, and clear Contiguous.
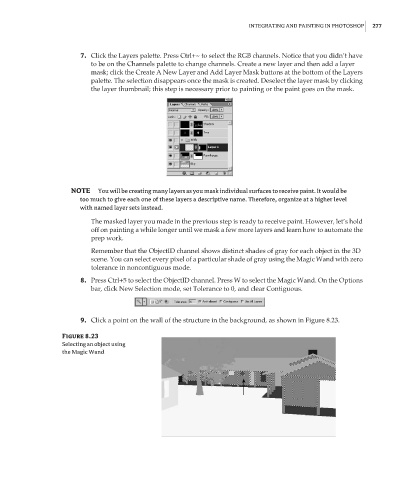
9. Click a point on the wall of the structure in the background, as shown in Figure 8.23.
Figure 8.23
Selecting an object using
the Magic Wand