
Page 295 - Enhancing CAD Drawings with Photoshop
P. 295
4386.book Page 279 Monday, November 15, 2004 3:27 PM
INTEGRATING AND PAINTING IN PHOTOSHOP 279
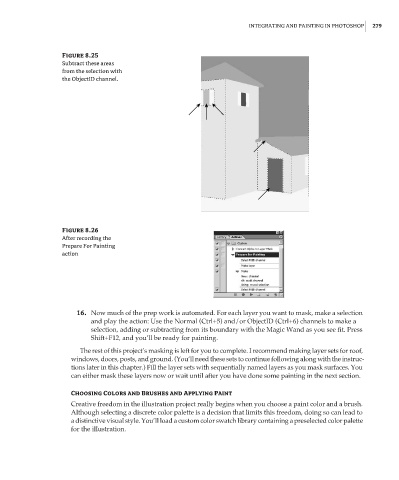
Figure 8.25
Subtract these areas
from the selection with
the ObjectID channel.
Figure 8.26
After recording the
Prepare For Painting
action
16. Now much of the prep work is automated. For each layer you want to mask, make a selection
and play the action: Use the Normal (Ctrl+5) and/or ObjectID (Ctrl+6) channels to make a
selection, adding or subtracting from its boundary with the Magic Wand as you see fit. Press
Shift+F12, and you’ll be ready for painting.
The rest of this project’s masking is left for you to complete. I recommend making layer sets for roof,
windows, doors, posts, and ground. (You’ll need these sets to continue following along with the instruc-
tions later in this chapter.) Fill the layer sets with sequentially named layers as you mask surfaces. You
can either mask these layers now or wait until after you have done some painting in the next section.
Choosing Colors and Brushes and Applying Paint
Creative freedom in the illustration project really begins when you choose a paint color and a brush.
Although selecting a discrete color palette is a decision that limits this freedom, doing so can lead to
a distinctive visual style. You’ll load a custom color swatch library containing a preselected color palette
for the illustration.