
Page 297 - Enhancing CAD Drawings with Photoshop
P. 297
4386.book Page 281 Monday, November 15, 2004 3:27 PM
INTEGRATING AND PAINTING IN PHOTOSHOP 281
NOTE Before you begin painting, spend some time choosing a color palette in your own projects;
add these colors to the Swatches palette and save it as a swatch library. Alternatively, you might
find color inspiration by opening a piece of art you’d like to emulate and using the eyedropper to
sample its colors.
4. Click the eye icons of the Farmhouse and Sky layers in the Layers palette to toggle them off.
Select Layer 1 in the Walls layer set. Press the backslash key (\) to toggle rubylith mode on.
This mode displays the currently selected layer’s mask in transparent red and is helpful to
visualize which portions of a layer are masked (rubylith) and which are revealed (white).
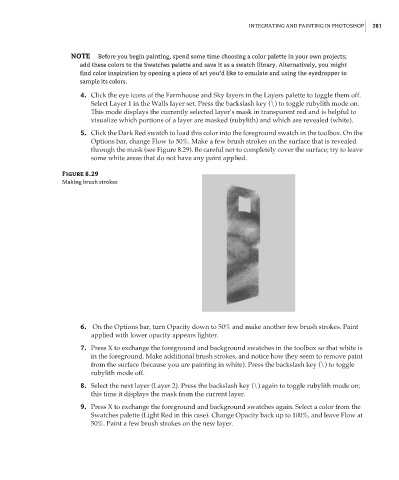
5. Click the Dark Red swatch to load this color into the foreground swatch in the toolbox. On the
Options bar, change Flow to 50%. Make a few brush strokes on the surface that is revealed
through the mask (see Figure 8.29). Be careful not to completely cover the surface; try to leave
some white areas that do not have any paint applied.
Figure 8.29
Making brush strokes
6. On the Options bar, turn Opacity down to 50% and make another few brush strokes. Paint
applied with lower opacity appears lighter.
7. Press X to exchange the foreground and background swatches in the toolbox so that white is
in the foreground. Make additional brush strokes, and notice how they seem to remove paint
from the surface (because you are painting in white). Press the backslash key (\) to toggle
rubylith mode off.
8. Select the next layer (Layer 2). Press the backslash key (\) again to toggle rubylith mode on;
this time it displays the mask from the current layer.
9. Press X to exchange the foreground and background swatches again. Select a color from the
Swatches palette (Light Red in this case). Change Opacity back up to 100%, and leave Flow at
50%. Paint a few brush strokes on the new layer.