
Page 42 - Enhancing CAD Drawings with Photoshop
P. 42
4386.book Page 25 Monday, November 15, 2004 3:27 PM
USING LAYERS 25
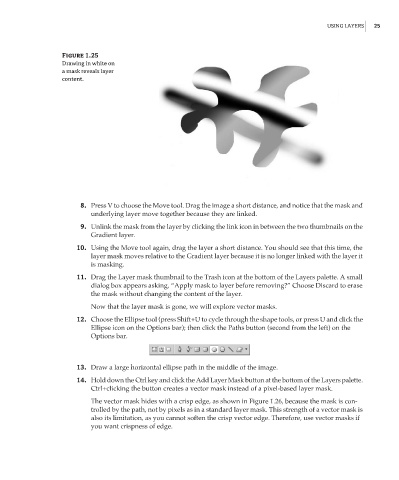
Figure 1.25
Drawing in white on
a mask reveals layer
content.
8. Press V to choose the Move tool. Drag the image a short distance, and notice that the mask and
underlying layer move together because they are linked.
9. Unlink the mask from the layer by clicking the link icon in between the two thumbnails on the
Gradient layer.
10. Using the Move tool again, drag the layer a short distance. You should see that this time, the
layer mask moves relative to the Gradient layer because it is no longer linked with the layer it
is masking.
11. Drag the Layer mask thumbnail to the Trash icon at the bottom of the Layers palette. A small
dialog box appears asking, “Apply mask to layer before removing?” Choose Discard to erase
the mask without changing the content of the layer.
Now that the layer mask is gone, we will explore vector masks.
12. Choose the Ellipse tool (press Shift+U to cycle through the shape tools, or press U and click the
Ellipse icon on the Options bar); then click the Paths button (second from the left) on the
Options bar.
13. Draw a large horizontal ellipse path in the middle of the image.
14. Hold down the Ctrl key and click the Add Layer Mask button at the bottom of the Layers palette.
Ctrl+clicking the button creates a vector mask instead of a pixel-based layer mask.
The vector mask hides with a crisp edge, as shown in Figure 1.26, because the mask is con-
trolled by the path, not by pixels as in a standard layer mask. This strength of a vector mask is
also its limitation, as you cannot soften the crisp vector edge. Therefore, use vector masks if
you want crispness of edge.