
Page 47 - Enhancing CAD Drawings with Photoshop
P. 47
4386.book Page 30 Monday, November 15, 2004 3:27 PM
30 CHAPTER 1 THE BASICS
You navigate this dialog by clicking the blending effects in the table on the left. The dialog box
is context-sensitive; currently Stroke is selected, so you see the Stroke controls on the right side.
8. Change Size to 1 px, and change Position to Inside.
9. Click Color Overlay on the left side of the Layer Style dialog box, and then click the color
swatch on the right side to open the Color Picker. Choose a dark blue color and click OK to
close the Color Picker.
10. Click the Bevel And Emboss effect on the left. In the Structure group on the right, change
Depth to 100%, and change Size to 18 px.
11. Click the Drop Shadow effect on the left. Then, in the Structure group to the right, change Dis-
tance to 17 px, and change Size to 27 px.
12. Click OK to close the Layer Style dialog box. Each blending effect is accessible now through the
additions made in the Layers palette. You can double-click any of the round f icons in the Layers
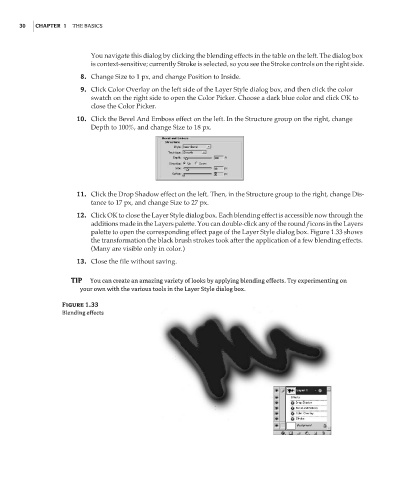
palette to open the corresponding effect page of the Layer Style dialog box. Figure 1.33 shows
the transformation the black brush strokes took after the application of a few blending effects.
(Many are visible only in color.)
13. Close the file without saving.
TIP You can create an amazing variety of looks by applying blending effects. Try experimenting on
your own with the various tools in the Layer Style dialog box.
Figure 1.33
Blending effects