
Page 38 - Enhancing CAD Drawings with Photoshop
P. 38
4386.book Page 21 Monday, November 15, 2004 3:27 PM
USING LAYERS 21
Layer Attributes
Each layer has simple attributes that include its visibility, blending mode, opacity and fill percent-
ages, and three kinds of locks. These attributes are controlled from the top of the Layers palette.
You will open another sample file and explore layer attributes.
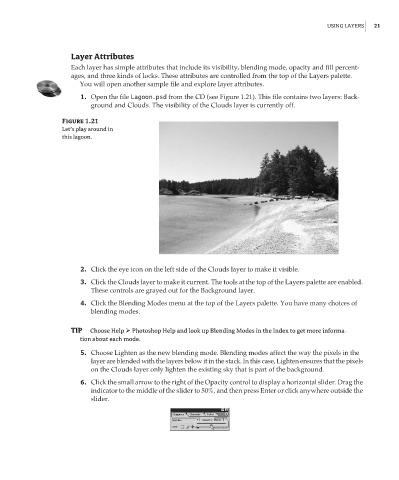
1. Open the file Lagoon.psd from the CD (see Figure 1.21). This file contains two layers: Back-
ground and Clouds. The visibility of the Clouds layer is currently off.
Figure 1.21
Let’s play around in
this lagoon.
2. Click the eye icon on the left side of the Clouds layer to make it visible.
3. Click the Clouds layer to make it current. The tools at the top of the Layers palette are enabled.
These controls are grayed out for the Background layer.
4. Click the Blending Modes menu at the top of the Layers palette. You have many choices of
blending modes.
TIP Choose Help Photoshop Help and look up Blending Modes in the Index to get more informa-
tion about each mode.
5. Choose Lighten as the new blending mode. Blending modes affect the way the pixels in the
layer are blended with the layers below it in the stack. In this case, Lighten ensures that the pixels
on the Clouds layer only lighten the existing sky that is part of the background.
6. Click the small arrow to the right of the Opacity control to display a horizontal slider. Drag the
indicator to the middle of the slider to 50%, and then press Enter or click anywhere outside the
slider.