Page 39 - Enhancing CAD Drawings with Photoshop
P. 39
4386.book  Page 22  Monday, November 15, 2004  3:27 PM

      22   CHAPTER 1  THE BASICS


                          Notice that the clouds got lighter because the pixels on the layer are now more transparent.
                       7. Press 7 on the keyboard. This is a shortcut that changes the opacity of this layer to 70%. The
                          clouds are a bit more opaque now.


                    TIP  Press 0 to change the current layer’s opacity to 100%.
                          Notice the Fill opacity control below the standard Opacity control. Fill works much like Opac-
                          ity for pixels on the layer. However, Fill does not affect the opacity of layer effects (see “Layer
                          Styles” later in this section).
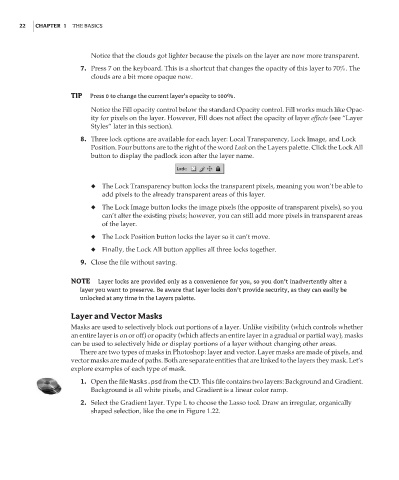
                       8. Three lock options are available for each layer: Local Transparency, Lock Image, and Lock
                          Position. Four buttons are to the right of the word Lock on the Layers palette. Click the Lock All
                          button to display the padlock icon after the layer name.


                          ◆ The Lock Transparency button locks the transparent pixels, meaning you won’t be able to
                             add pixels to the already transparent areas of this layer.
                          ◆ The Lock Image button locks the image pixels (the opposite of transparent pixels), so you
                             can’t alter the existing pixels; however, you can still add more pixels in transparent areas
                             of the layer.

                          ◆ The Lock Position button locks the layer so it can’t move.
                          ◆ Finally, the Lock All button applies all three locks together.
                       9. Close the file without saving.

                    NOTE    Layer locks are provided only as a convenience for you, so you don’t inadvertently alter a
                       layer you want to preserve. Be aware that layer locks don’t provide security, as they can easily be
                       unlocked at any time in the Layers palette.

                    Layer and Vector Masks
                    Masks are used to selectively block out portions of a layer. Unlike visibility (which controls whether
                    an entire layer is on or off) or opacity (which affects an entire layer in a gradual or partial way), masks
                    can be used to selectively hide or display portions of a layer without changing other areas.
                       There are two types of masks in Photoshop: layer and vector. Layer masks are made of pixels, and
                    vector masks are made of paths. Both are separate entities that are linked to the layers they mask. Let’s
                    explore examples of each type of mask.
                       1. Open the file Masks.psd from the CD. This file contains two layers: Background and Gradient.
                          Background is all white pixels, and Gradient is a linear color ramp.

                       2. Select the Gradient layer. Type L to choose the Lasso tool. Draw an irregular, organically
                          shaped selection, like the one in Figure 1.22.

