
Page 37 - Enhancing CAD Drawings with Photoshop
P. 37
4386.book Page 20 Monday, November 15, 2004 3:27 PM
20 CHAPTER 1 THE BASICS
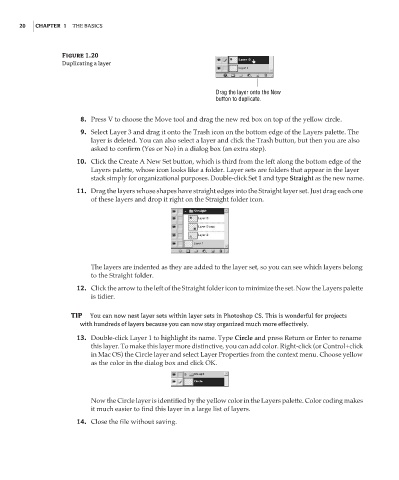
Figure 1.20
Duplicating a layer
Drag the layer onto the New
button to duplicate.
8. Press V to choose the Move tool and drag the new red box on top of the yellow circle.
9. Select Layer 3 and drag it onto the Trash icon on the bottom edge of the Layers palette. The
layer is deleted. You can also select a layer and click the Trash button, but then you are also
asked to confirm (Yes or No) in a dialog box (an extra step).
10. Click the Create A New Set button, which is third from the left along the bottom edge of the
Layers palette, whose icon looks like a folder. Layer sets are folders that appear in the layer
stack simply for organizational purposes. Double-click Set 1 and type Straight as the new name.
11. Drag the layers whose shapes have straight edges into the Straight layer set. Just drag each one
of these layers and drop it right on the Straight folder icon.
The layers are indented as they are added to the layer set, so you can see which layers belong
to the Straight folder.
12. Click the arrow to the left of the Straight folder icon to minimize the set. Now the Layers palette
is tidier.
TIP You can now nest layer sets within layer sets in Photoshop CS. This is wonderful for projects
with hundreds of layers because you can now stay organized much more effectively.
13. Double-click Layer 1 to highlight its name. Type Circle and press Return or Enter to rename
this layer. To make this layer more distinctive, you can add color. Right-click (or Control+click
in Mac OS) the Circle layer and select Layer Properties from the context menu. Choose yellow
as the color in the dialog box and click OK.
Now the Circle layer is identified by the yellow color in the Layers palette. Color coding makes
it much easier to find this layer in a large list of layers.
14. Close the file without saving.