
Page 109 - Excel Timesaving Techniques for Dummies
P. 109
21_574272 ch18.qxd 10/1/04 10:29 PM Page 94
94
Technique 18: Style Formatting Magic
3. On the Font tab, select Times New Roman in
the Font list box and 12 in the Size list box and
then click OK.
• Figure 18-3: The Formatting toolbar after customizing it 4. Click OK in the Style dialog box to close this
by adding a Style drop-down list box. dialog box and put the new attributes in effect.
Customizing predefined styles After changing the font and font size for the Normal
font, all the cells in the blank workbook now use
Excel makes it a snap to customize any of its six pre- Times New Roman 12-point type instead of the usual
defined styles. Of the six, most users end up cus- Arial 10 point.
tomizing the Normal style in order to quickly and
easily make basic formatting changes to all the cells Modifications that you make to a predefined
of a new workbook. For example, suppose your com- style such as Normal are saved as part of the
pany prefers to use Times New Roman 12 point as current workbook file. However, these changes
the default font and font size for all its spreadsheets. don’t carry over to new workbook files; they
To accomplish this in a new workbook, you would continue to open with the original, unmodified
modify the Normal style using the following steps: styles. To make use of your customized styles,
you need to copy them into the new work-
book. (For more on copying styles, see the
1. Open a new workbook and then Choose “Merging Styles from One Book into Another”
Format➪Style to open the Style dialog box.
section, later in this technique.)
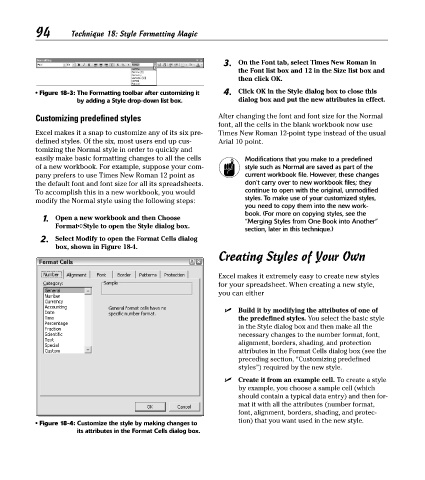
2. Select Modify to open the Format Cells dialog
box, shown in Figure 18-4.
Creating Styles of Your Own
Excel makes it extremely easy to create new styles
for your spreadsheet. When creating a new style,
you can either
Build it by modifying the attributes of one of
the predefined styles. You select the basic style
in the Style dialog box and then make all the
necessary changes to the number format, font,
alignment, borders, shading, and protection
attributes in the Format Cells dialog box (see the
preceding section, “Customizing predefined
styles”) required by the new style.
Create it from an example cell. To create a style
by example, you choose a sample cell (which
should contain a typical data entry) and then for-
mat it with all the attributes (number format,
font, alignment, borders, shading, and protec-
tion) that you want used in the new style.
• Figure 18-4: Customize the style by making changes to
its attributes in the Format Cells dialog box.