Page 354 - T. Anderson-Fracture Mechanics - Fundamentals and Applns.-CRC (2005)
P. 354
1656_C007.fm Page 334 Monday, May 23, 2005 5:54 PM
334 Fracture Mechanics: Fundamentals and Applications
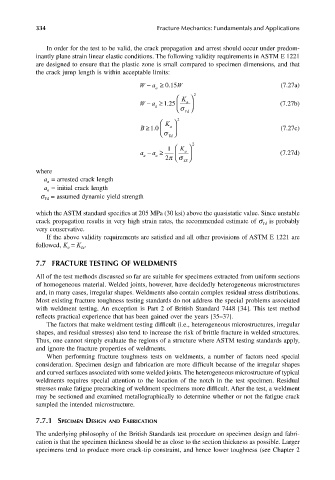
In order for the test to be valid, the crack propagation and arrest should occur under predom-
inantly plane strain linear elastic conditions. The following validity requirements in ASTM E 1221
are designed to ensure that the plastic zone is small compared to specimen dimensions, and that
the crack jump length is within acceptable limits:
W a − a ≥ . W 015 (7.27a)
K 2
W a − ≥ 125 a (7.27b)
.
a
σ Yd
K 2
B ≥10 a (7.27c)
.
σ Yd
K
1
a a a − o ≥ 2πσ YS 2 (7.27d)
a
where
a = arrested crack length
a
a = initial crack length
o
σ = assumed dynamic yield strength
Yd
which the ASTM standard specifies at 205 MPa (30 ksi) above the quasistatic value. Since unstable
crack propagation results in very high strain rates, the recommended estimate of σ is probably
Yd
very conservative.
If the above validity requirements are satisfied and all other provisions of ASTM E 1221 are
followed, K = K .
a
Ia
7.7 FRACTURE TESTING OF WELDMENTS
All of the test methods discussed so far are suitable for specimens extracted from uniform sections
of homogeneous material. Welded joints, however, have decidedly heterogeneous microstructures
and, in many cases, irregular shapes. Weldments also contain complex residual stress distributions.
Most existing fracture toughness testing standards do not address the special problems associated
with weldment testing. An exception is Part 2 of British Standard 7448 [34]. This test method
reflects practical experience that has been gained over the years [35–37].
The factors that make weldment testing difficult (i.e., heterogeneous microstructures, irregular
shapes, and residual stresses) also tend to increase the risk of brittle fracture in welded structures.
Thus, one cannot simply evaluate the regions of a structure where ASTM testing standards apply,
and ignore the fracture properties of weldments.
When performing fracture toughness tests on weldments, a number of factors need special
consideration. Specimen design and fabrication are more difficult because of the irregular shapes
and curved surfaces associated with some welded joints. The heterogeneous microstructure of typical
weldments requires special attention to the location of the notch in the test specimen. Residual
stresses make fatigue precracking of weldment specimens more difficult. After the test, a weldment
may be sectioned and examined metallographically to determine whether or not the fatigue crack
sampled the intended microstructure.
7.7.1 SPECIMEN DESIGN AND FABRICATION
The underlying philosophy of the British Standards test procedure on specimen design and fabri-
cation is that the specimen thickness should be as close to the section thickness as possible. Larger
specimens tend to produce more crack-tip constraint, and hence lower toughness (see Chapter 2

