
Page 128 - Make Your Own PCBs with EAGLE from Schematic Designs to Finished Boards
P. 128
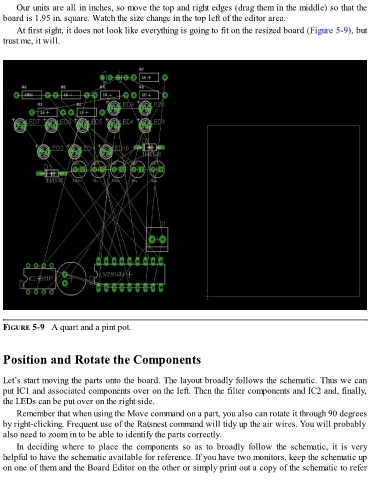
Our units are all in inches, so move the top and right edges (drag them in the middle) so that the
  board is 1.95 in. square. Watch the size change in the top left of the editor area.

      At first sight, it does not look like everything is going to fit on the resized board (Figure 5-9), but
  trust me, it will.


  FIGURE 5-9   A quart and a pint pot.


  Position and Rotate the Components


  Let’s start moving the parts onto the board. The layout broadly follows the schematic. Thus we can
  put IC1 and associated components over on the left. Then the filter components and IC2 and, finally,
  the LEDs can be put over on the right side.

      Remember that when using the Move command on a part, you also can rotate it through 90 degrees
  by right-clicking. Frequent use of the Ratsnest command will tidy up the air wires. You will probably
  also need to zoom in to be able to identify the parts correctly.
      In  deciding  where  to  place  the  components  so  as  to  broadly  follow  the  schematic,  it  is  very

  helpful to have the schematic available for reference. If you have two monitors, keep the schematic up
  on one of them and the Board Editor on the other or simply print out a copy of the schematic to refer