
Page 131 - Make Your Own PCBs with EAGLE from Schematic Designs to Finished Boards
P. 131
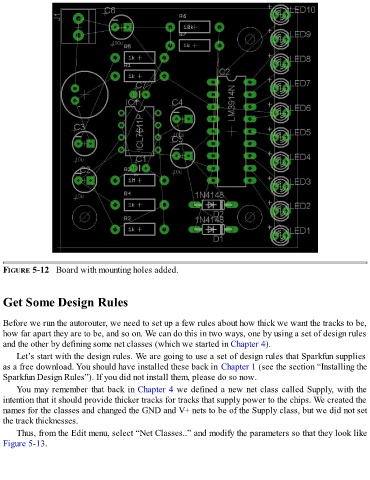
FIGURE 5-12   Board with mounting holes added.


  Get Some Design Rules


  Before we run the autorouter, we need to set up a few rules about how thick we want the tracks to be,
  how far apart they are to be, and so on. We can do this in two ways, one by using a set of design rules
  and the other by defining some net classes (which we started in Chapter 4).

      Let’s start with the design rules. We are going to use a set of design rules that Sparkfun supplies
  as a free download. You should have installed these back in Chapter 1 (see the section “Installing the
  Sparkfun Design Rules”). If you did not install them, please do so now.

      You may remember that back in Chapter 4 we defined a new net class called Supply, with the
  intention that it should provide thicker tracks for tracks that supply power to the chips. We created the
  names for the classes and changed the GND and V+ nets to be of the Supply class, but we did not set
  the track thicknesses.

      Thus, from the Edit menu, select “Net Classes..” and modify the parameters so that they look like
  Figure 5-13.