
Page 56 - Make Your Own PCBs with EAGLE from Schematic Designs to Finished Boards
P. 56
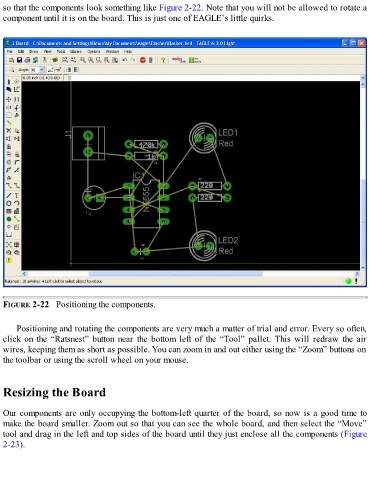
so that the components look something like Figure 2-22. Note that you will not be allowed to rotate a
  component until it is on the board. This is just one of EAGLE’s little quirks.


  FIGURE 2-22   Positioning the components.


      Positioning and rotating the components are very much a matter of trial and error. Every so often,
  click  on  the  “Ratsnest”  button  near  the  bottom  left  of  the  “Tool”  pallet.  This  will  redraw  the  air
  wires, keeping them as short as possible. You can zoom in and out either using the “Zoom” buttons on

  the toolbar or using the scroll wheel on your mouse.


  Resizing the Board


  Our components are only occupying the bottom-left quarter of the board, so now is a good time to

  make the board smaller. Zoom out so that you can see the whole board, and then select the “Move”
  tool and drag in the left and top sides of the board until they just enclose all the components (Figure
  2-23).