Page 402 - Shigley's Mechanical Engineering Design
P. 402

bud29281_ch07_358-408.qxd  12/8/09  12:52PM  Page 377 ntt 203:MHDQ196:bud29281:0073529281:bud29281_pagefiles:


                                                                                          Shafts and Shaft Components  377


                                          Note that we could have used Eq. (7–7) directly.
                                          Check yielding.
                                                               S y     S y        57 000
                                                         n y =     >        =              = 2.64
                                                              σ max  σ + σ m    12 910 + 8659


                                                                      a
                                          Also check this diameter at the end of the keyway, just to the right of point I,
                                          and at the groove at point K. From moment diagram, estimate M at end of
                                          keyway to be M   3750 lbf-in.
                                            Assume the radius at the bottom of the keyway will be the standard
                                          r d   0.02, r   0.02 d   0.02 (1.625)   0.0325 in.
                                                        K t = 2.14 (Table 7–1), q   0.65 (Fig. 6–20)
                                                       K f = 1 + 0.65(2.14 − 1) = 1.74
                                                       K ts = 3.0 (Table 7–1), q s = 0.71 (Fig. 6–21)

                                                       K fs = 1 + 0.71(3 − 1) = 2.42
                                                             32K f M a  32(1.74)(3750)

                                                        σ =          =              = 15 490 psi
                                                         a
                                                               πd 3      π(1.625) 3
                                                                           √
                                                            √                3(16)(2.42)(3240)
                                                                   K fs T m
                                                        σ =   3(16)      =                   = 16 120 psi
                                                         m
                                                                    πd 3        π(1.625) 3
                                                        1    σ a    σ m    15 490  16 120
                                                          =    +     =       +       = 0.854
                                                        n f  S e  S ut  25 100  68 000
                                                        n f = 1.17
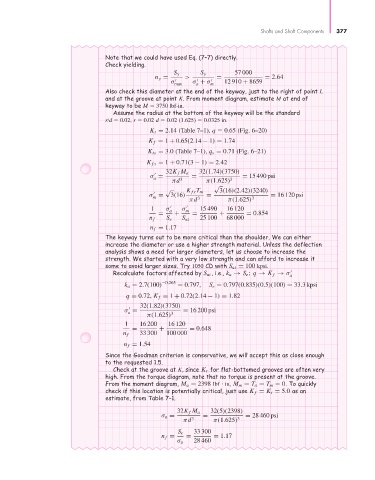
                                          The keyway turns out to be more critical than the shoulder. We can either
                                          increase the diameter or use a higher strength material. Unless the deflection
                                          analysis shows a need for larger diameters, let us choose to increase the
                                          strength. We started with a very low strength and can afford to increase it
                                          some to avoid larger sizes. Try 1050 CD with S ut = 100 kpsi.
                                            Recalculate factors affected by S ut , i.e., k a → S e ; q → K f → σ a
                                                k a = 2.7(100) −0.265  = 0.797,  S e = 0.797(0.835)(0.5)(100) = 33.3 kpsi
                                                q = 0.72, K f = 1 + 0.72(2.14 − 1) = 1.82
                                                     32(1.82)(3750)

                                                σ =               = 16 200 psi
                                                 a
                                                       π(1.625) 3
                                                1    16 200  16 120
                                                  =        +        = 0.648
                                               n f   33 300  100 000
                                                n f = 1.54
                                          Since the Goodman criterion is conservative, we will accept this as close enough
                                          to the requested 1.5.
                                            Check at the groove at K, since K t for flat-bottomed grooves are often very
                                          high. From the torque diagram, note that no torque is present at the groove.
                                          From the moment diagram, M a = 2398 lbf   in, M m = T a = T m = 0. To quickly
                                          check if this location is potentially critical, just use K f = K t = 5.0 as an
                                          estimate, from Table 7–1.
                                                                          32(5)(2398)
                                                                32K f M a
                                                           σ a =     3  =          3  = 28 460 psi
                                                                  πd       π(1.625)
                                                                S e  33 300
                                                           n f =   =       = 1.17
                                                                σ a  28 460
   397   398   399   400   401   402   403   404   405   406   407