
Page 70 - The Ultimate Palm Robot
P. 70
Color profile: Generic CMYK printer profile
Composite Default screen
Bots /The Ultimate Palm Robot/ Mukhar & Johnson / 222880-6 / Chapter 3
Chapter 3 Building the Robot 53
The Controller and the Deck
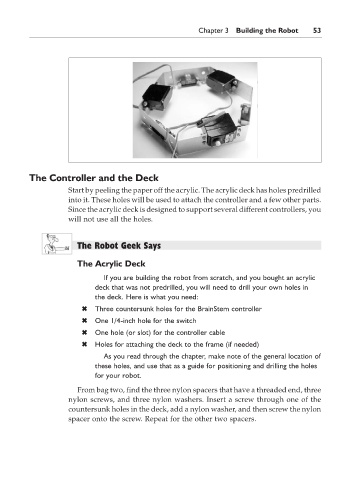
Start by peeling the paper off the acrylic. The acrylic deck has holes predrilled
into it. These holes will be used to attach the controller and a few other parts.
Since the acrylic deck is designed to support several different controllers, you
will not use all the holes.
The Robot Geek Says
The Acrylic Deck
If you are building the robot from scratch, and you bought an acrylic
deck that was not predrilled, you will need to drill your own holes in
the deck. Here is what you need:
✖ Three countersunk holes for the BrainStem controller
✖ One 1/4-inch hole for the switch
✖ One hole (or slot) for the controller cable
✖ Holes for attaching the deck to the frame (if needed)
As you read through the chapter, make note of the general location of
these holes, and use that as a guide for positioning and drilling the holes
for your robot.
From bag two, find the three nylon spacers that have a threaded end, three
nylon screws, and three nylon washers. Insert a screw through one of the
countersunk holes in the deck, add a nylon washer, and then screw the nylon
spacer onto the screw. Repeat for the other two spacers.
P:\010Comp\Bots\880-6\ch03.vp
Monday, May 12, 2003 4:41:14 PM