
Page 141 - Make Your Own PCBs with EAGLE from Schematic Designs to Finished Boards
P. 141
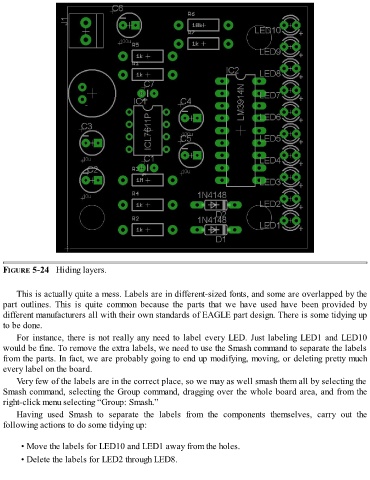
FIGURE 5-24   Hiding layers.


      This is actually quite a mess. Labels are in different-sized fonts, and some are overlapped by the
  part  outlines.  This  is  quite  common  because  the  parts  that  we  have  used  have  been  provided  by
  different manufacturers all with their own standards of EAGLE part design. There is some tidying up
  to be done.

      For instance, there is not really any need to label every LED. Just labeling LED1 and LED10
  would be fine. To remove the extra labels, we need to use the Smash command to separate the labels
  from the parts. In fact, we are probably going to end up modifying, moving, or deleting pretty much
  every label on the board.

      Very few of the labels are in the correct place, so we may as well smash them all by selecting the
  Smash command, selecting the Group command, dragging over the whole board area, and from the
  right-click menu selecting “Group: Smash.”

      Having  used  Smash  to  separate  the  labels  from  the  components  themselves,  carry  out  the
  following actions to do some tidying up:


        • Move the labels for LED10 and LED1 away from the holes.

        • Delete the labels for LED2 through LED8.