
Page 150 - Make Your Own PCBs with EAGLE from Schematic Designs to Finished Boards
P. 150
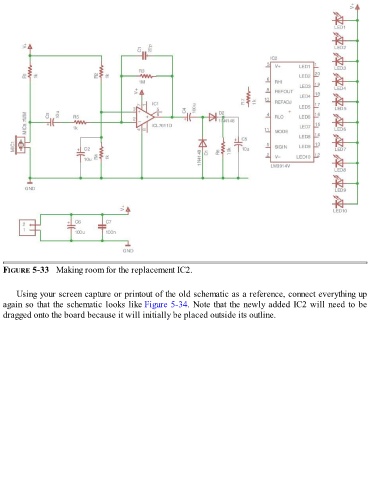
FIGURE 5-33   Making room for the replacement IC2.


      Using your screen capture or printout of the old schematic as a reference, connect everything up
  again so that the schematic looks like Figure 5-34. Note that the newly added IC2 will need to be
  dragged onto the board because it will initially be placed outside its outline.