
Page 76 - The Ultimate Palm Robot
P. 76
Color profile: Generic CMYK printer profile
Composite Default screen
Bots /The Ultimate Palm Robot/ Mukhar & Johnson / 222880-6 / Chapter 3
Chapter 3 Building the Robot 59
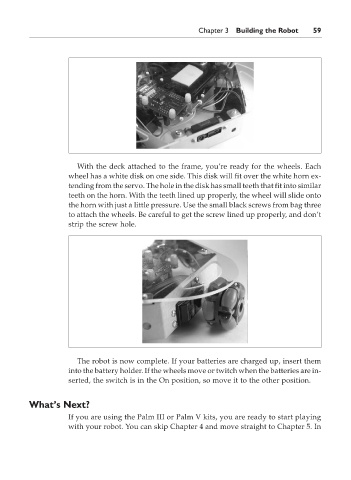
With the deck attached to the frame, you’re ready for the wheels. Each
wheel has a white disk on one side. This disk will fit over the white horn ex-
tending from the servo. The hole in the disk has small teeth that fit into similar
teeth on the horn. With the teeth lined up properly, the wheel will slide onto
the horn with just a little pressure. Use the small black screws from bag three
to attach the wheels. Be careful to get the screw lined up properly, and don’t
strip the screw hole.
The robot is now complete. If your batteries are charged up, insert them
into the battery holder. If the wheels move or twitch when the batteries are in-
serted, the switch is in the On position, so move it to the other position.
What’s Next?
If you are using the Palm III or Palm V kits, you are ready to start playing
with your robot. You can skip Chapter 4 and move straight to Chapter 5. In
P:\010Comp\Bots\880-6\ch03.vp
Monday, May 12, 2003 4:41:23 PM