
Page 411 - Subyek Computer Aided Design - [David Planchard] Engineering Design with SOLIDWORKS
P. 411
Engineering Design with SOLIDWORKS® 2018 Extrude and Revolve Features
Insert a Counterbore Hole feature using the Hole Wizard tool. The
BULB is located inside the Counterbore Hole.
Insert the front Lens Cover with an Extruded Boss/Base feature.
The Extruded Boss/Base feature is sketched on the Front Plane.
Add a transparent Lens Shield with the Extruded Boss feature.
- - - - -- -- --
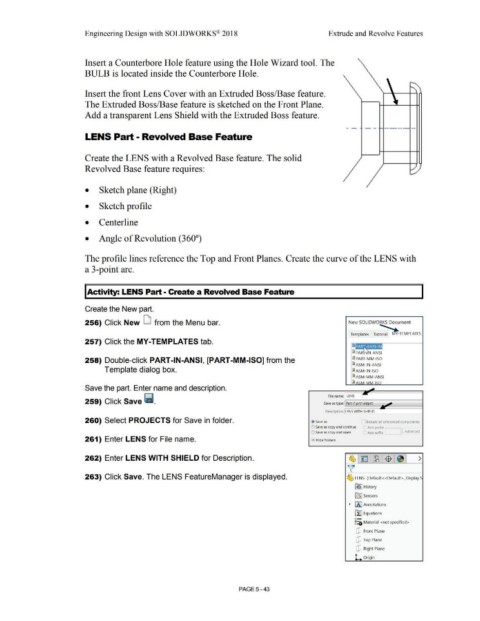
LENS Part • Revolved Base Feature
Create the LENS with a Revolved Base feature. The solid
Revolved Base feature requires:
• Sketch plane (Right)
• Sketch profile
• Centerline
• Angle of Revolution (360°)
The profile lines reference the Top and Front Planes. Create the curve of the LENS with
a 3-point arc.
I Activity: LENS Part - Create a Revolved Base Feature
Create the New part.
256) Click New LI from the Menu bar. New SOLIDWORKS Document
....,
...
Templates Tutorial d v-TEMPLATES
257) Click the MY-TEMPLATES tab.
~it+itf ~iii31
® PAR -ANSI
258) Double-click PART-IN-ANSI, [PART-MM-ISO] from the ® PART-MM-ISO
@ ASM-IN-ANSI
Template dialog box. @ASM-IN-ISO
@l ASM-MM-ANSI
@ l'sC~A - ' "•. 1<::n
Save the part. Enter name and description.
File name: LENS
259) Click Save ii. Save as type: Part (•.prt*.sldprt)
Description: !LENS WITH SHIELD
260) Select PROJECTS for Save in folder. Ii, Save as "] Include all referenced components
(':) Save as copy and continue ) Add prefix [
el Save as copy and open 1Add suffix ] [ Advanced I
261) Enter LENS for File name. • Hide Folders
262) Enter LENS WITH SHIELD for Description. ~1~ :~:$ 1~1 >
v'
263) Click Save. The LENS FeatureManager is displayed. ~ LENS (Default< <Default> _Display S
[~J History
lrl] Sensors
• [A] Annotations
ll:J Equations
o-
::o Material <not specified>
[P Front Plane
[!] Top Plane
[!] Right Plane
~ Origin
PAGE5 - 43