
Page 543 - Subyek Computer Aided Design - [David Planchard] Engineering Design with SOLIDWORKS
P. 543
Engineering Design with SOLIDWORKS® 2018 Swept, Lofted and Additional Features
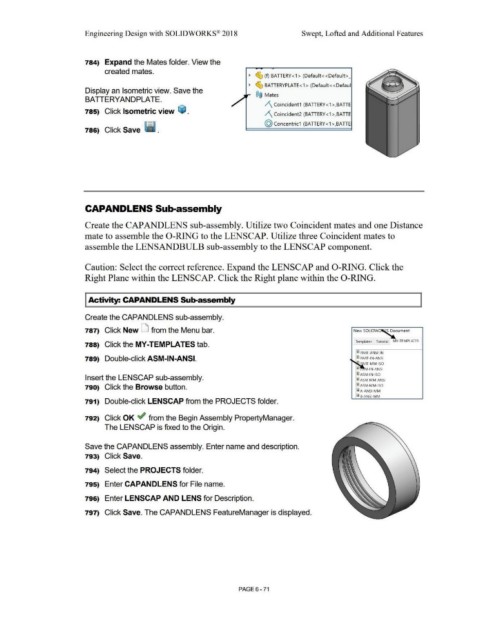
784) Expand the Mates folder. View the
created mates.
~ c!& (f) BATTERY< 1 > (Default< <Default>_
~ c!& BATTERYPLATE<1> (Default<<Defaul
Display an Isometric view. Save the
®@ Mates
BA TIERYANDPLATE.
/\ Coincident 1 (BATTERY<1 >,BATTE
785) Click Isometric view ~ .
/\ Coincident2 (BATTERY< 1 >,BATIE
(Q) Concentric1 (BATTERY < 1 >,BATIE
786) Click Save ·~ .
CAPANDLENS Sub-assembly
Create the CAP ANDLENS sub-assembly. Utilize two Coincident mates and one Distance
mate to assemble the 0-RING to the LENSCAP. Utilize three Coincident mates to
assemble the LENSANDBULB sub-assembly to the LENSCAP component.
Caution: Select the correct reference. Expand the LENSCAP and 0-RING. Click the
Right Plane within the LENSCAP. Click the Right plane within the 0-RING.
I Activity: CAPANDLENS Sub-assembly
Create the CAPANDLENS sub-assembly.
787) Click New LJ from the Menu bar. New SOLIDW~ cument
Templates Tutorial MY-TEMPLATES
788) Click the MY-TEMPLATES tab.
~ PART-ANSI-IN
789) Double-click ASM-IN-ANSI. ~ PART-IN-ANSI
P. RT·MM·ISO
!ID M·IN·ANSI
@) ASM·IN-ISO
Insert the LENSCAP sub-assembly. @) ASM-MM-ANSI
790) Click the Browse button. @) ASM-MM-ISO
Ii A· ANSl·MM
iB-ANSl·MM
791) Double-click LENSCAP from the PROJECTS folder.
792) Click OK ~ from the Begin Assembly PropertyManager.
The LENSCAP is fixed to the Origin.
Save the CAPANDLENS assembly. Enter name and description.
793) Click Save.
794) Select the PROJECTS folder.
795) Enter CAPANDLENS for File name.
796) Enter LENSCAP AND LENS for Description.
797) Click Save. The CAPANDLENS FeatureManager is displayed.
PAGE6-71